First off, these pictures show you about how the original looked. You know, just in case you wanted to know.
Note – I’m using Photoshop CS 3, and other than the first two steps (which you can’t really create layers with) I use adjustment layers not image adjustments. That makes the edits easily tweakable.
The first two steps use filters and can be done in any order. If you chose not to do them that’s fine. I actually usually add these last if needed to be honest, but their effects actually do show a big part in *MY* photos edits.
Go to Filter>Render>Lens Flare.
I placed it between the top corner and the top of Zach’s head. His hair was already sort of washed out right there since that’s where the light was coming in from. I used the 50-300mm Zoom effect and set the brightness up to 150.
Next, go to Filter>Distort>Lens Correction.
Since I’m working with a white sky, and going for a heavily edited vintage look, I use a go-big-or-go-home mentality on this part. I set my vignette high – not something I recommend doing for just regular edits. I set my amount on the vignette for –35.
And here’s where we switch to adjustment layers.
Use an adjustment layer Gradient Map.
Change your two gradient colors to a deep brown (3b2107) for your darks and a light gray (d3cfcd) for your lights. Once you’ve done that change your blending mode on the gradient map to Soft Light and set the opacity to 30%.
Then use another adjustment layer Gradient Map.
Only this time we’ll be using *three* colors. First set your darks to a dark blue – but not so dark it looks black (0c114f). Then half way on the bottom between your dark and light add another marker by clicking and select a deep orange (d55c2e). For your lights go with a light creamy orange (fde5dc). Then change the layer’s blending mode to Soft Light at an opacity of 60%.
and now the last step is…
Add a Fill Layer>Gradient to your picture.
If it doesn’t automatically do it, first select a gradient that goes from 100% visibility to 0% visibility. Then change your color you see to a light tan (ede1c8) and then the color you don’t see to a deep red (cd291c). Then set the blending mode to Soft Light – no need to adjust opacity.
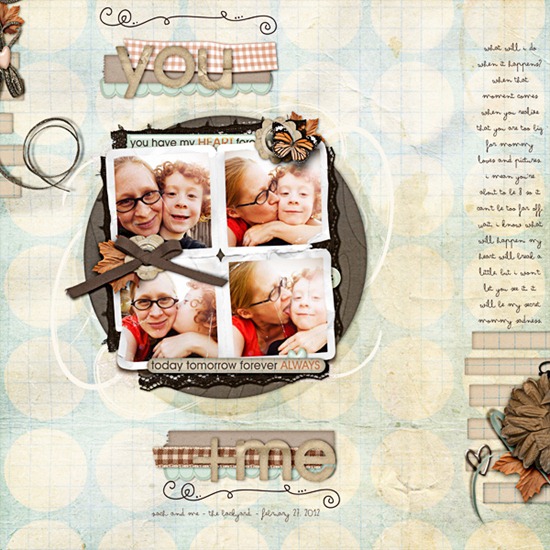
And we’re done! I used this exact edit on my series of photos in this layout:


No comments:
Post a Comment